In this post you will be walk through to Installing and Configuring Hyper-V Role In Windows Server 2012.
Like windows server 2008, the OS installation is same in Windows Server 2012 R2 but there are some new features have been included with new OS.
New features in Hyper V in windows server 2012 R2, the most valued features you will notice are:
- VM Generation 1 and Generation version 2 available, Generation 2 VMs won’t support 32-bit guest OS, as well as any Windows guest that is older than Windows Server 2012 and Windows 8.
- There is no floppy drives, DVDs, legacy network adapters and IDE controllers in 2nd generation VMs.
- NIC Teaming and Virtual switches available to configure
- Live migration feature without shut down of a VM as earlier need to shut down machine before export-import
- Hyper-V Replica feature to replicate virtual machines among storage systems, clusters, and data centers between two sites to provide business continuity and failure recovery.
- Incremental backup support- in 2008 R2 only full backup you can take to backup a VM but in 2012 R2 you have the option of incremental backup
And many options are included but this is not a post to describe features of Hyper V server 2012
so let’s start the Hyper V role installation.
Steps:
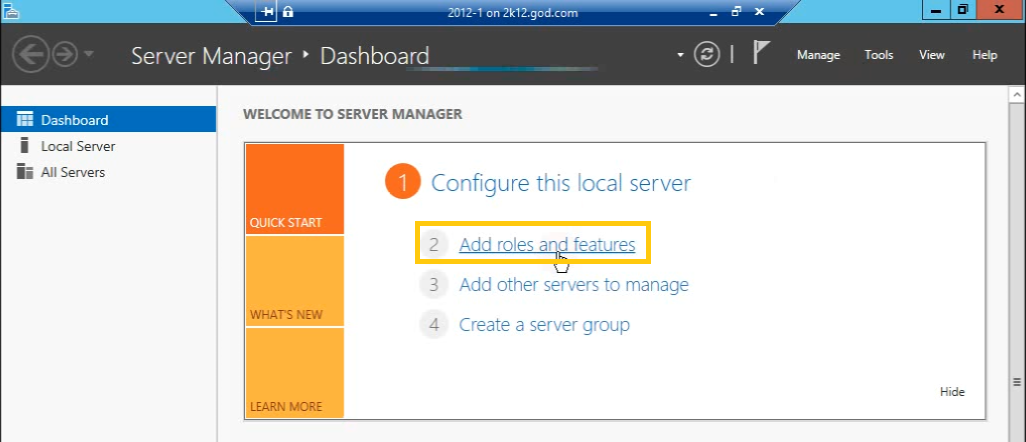
1.) Open server manager click on add roles and features from dashboard.
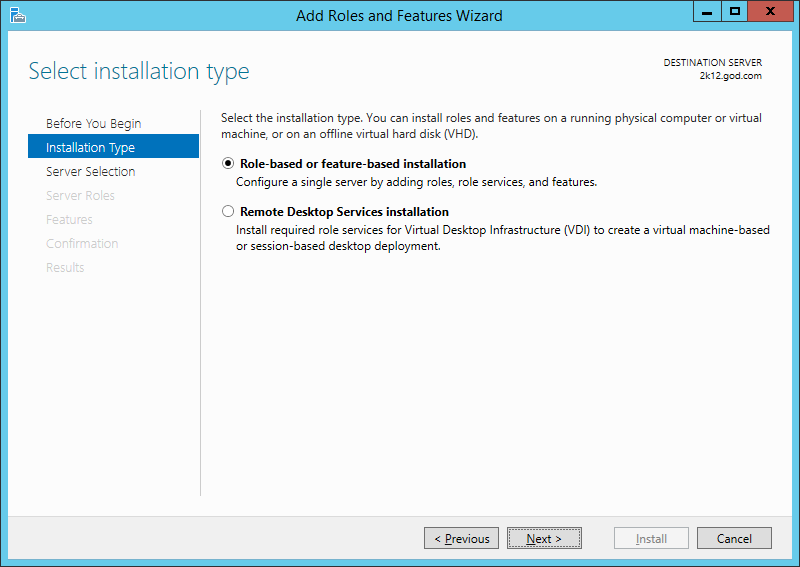
2.) In the next wizard click next to install role in the existing host server. On Select Installation Type page, select Role-based or feature-based installation, and click Next.
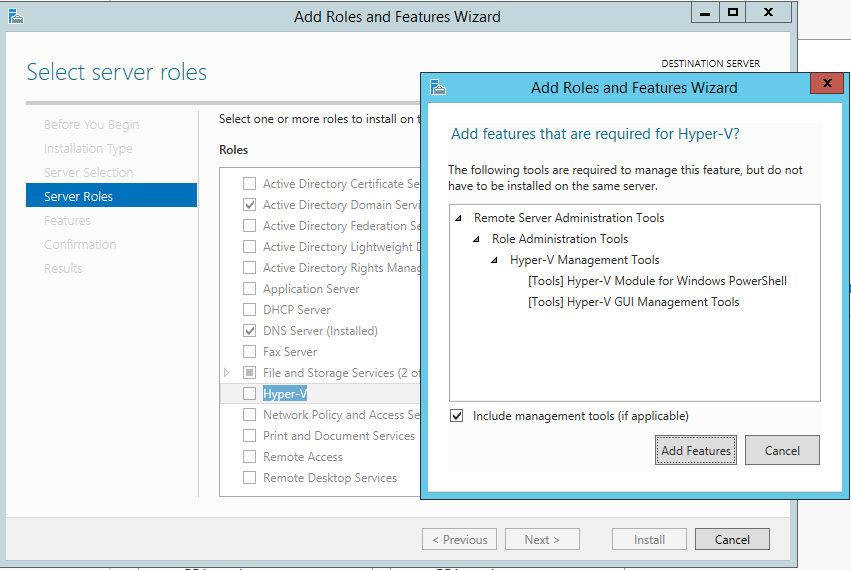
3.) In the next screen select the server from server pool click next and then from server role check on Hyper-V and then click add features
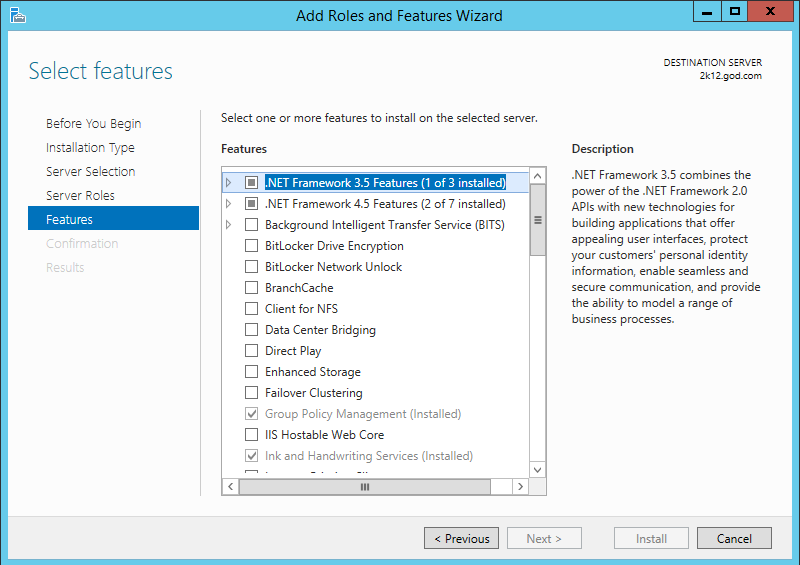
4.) Now in feature screen click next
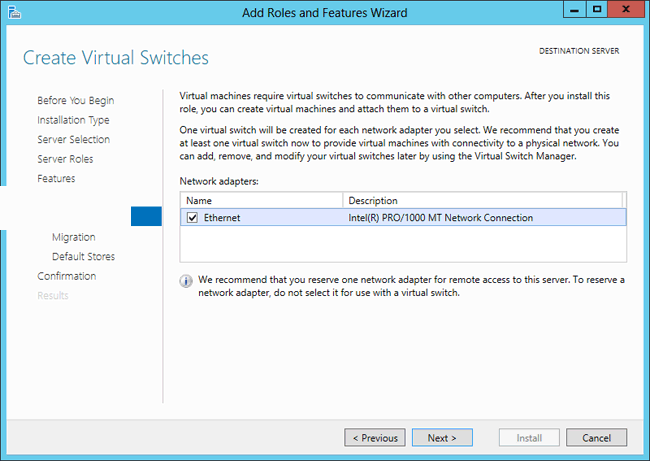
5.) Click next in next step and On the Create Virtual Switches screen, select a network adapter, and then click Next.
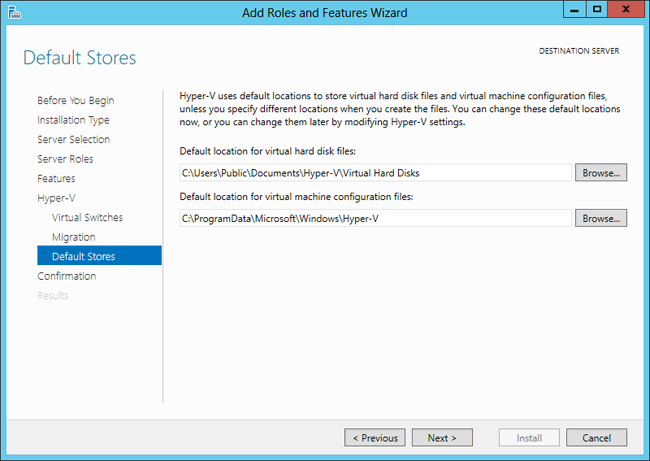
6.) At Virtual Machine Migration screen, click Next then in Default Stores screen, you can define the location of hard disk files and machine configuration files of virtual machines that we are going to install.
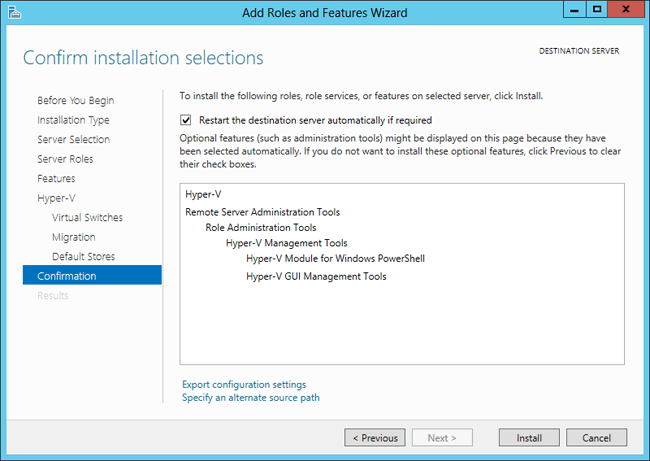
7.) Now this is our final step of hyper v role installation, and here server may automatically restart if required so keep in mind in this last step, close all your pending task.
Click in Install button and Installation will start.
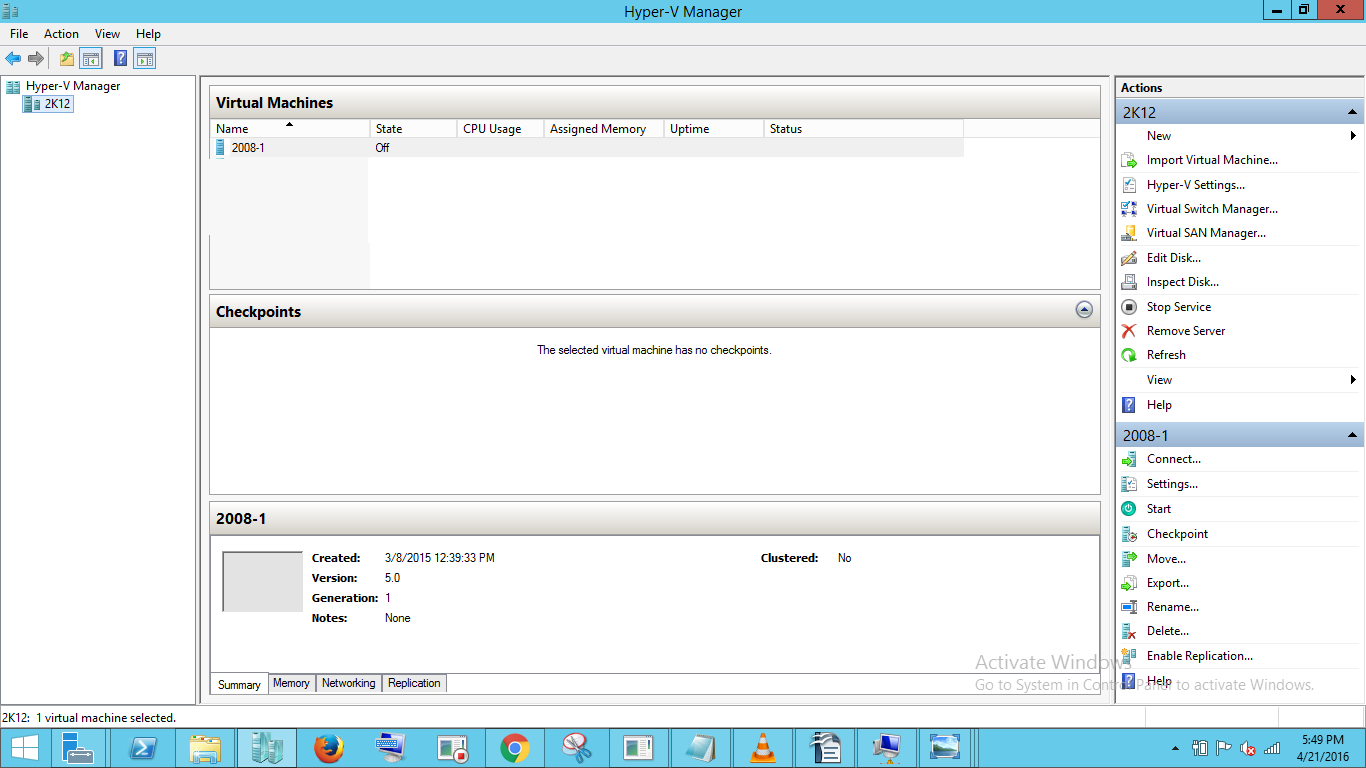
8.) After progress finish, Hyper V role has been installed, to open HyperV manager click on start > Administrative tools > HyperV manager.
Thanks for Reading, Your comments and suggestions are always welcomed.

